
· Nate Halloran
How to clean a coffee tamper
A tamper only ever meets dry coffee, which makes it the easiest thing on the counter to look after and the easiest one to forget about entirely. What collects on it is not dirt in the kitchen sense. It is coffee oil, and oil changes how the base leaves the puck long before it changes how the tamper looks. Here is what builds up, what to do about it each morning, what to do when a cloth is no longer enough, and the three habits that shorten a tamper's life.
What builds up on a tamper, and where
Two different things settle on a tamper, and only one of them matters.
The first is dry fines: the loose grounds that cling to the face after a press and to the rim that seats on the basket. They brush off with a fingertip and do nothing while they sit there. They are not the reason to clean anything.
The second is oil. Ground coffee carries it, darker roasts carry more, and a little transfers every time steel meets a bed under load. It goes on invisibly. What you notice first is not a mark but a change in feel: a face that was smooth develops a faint tackiness, and the cloth begins to grip rather than glide.
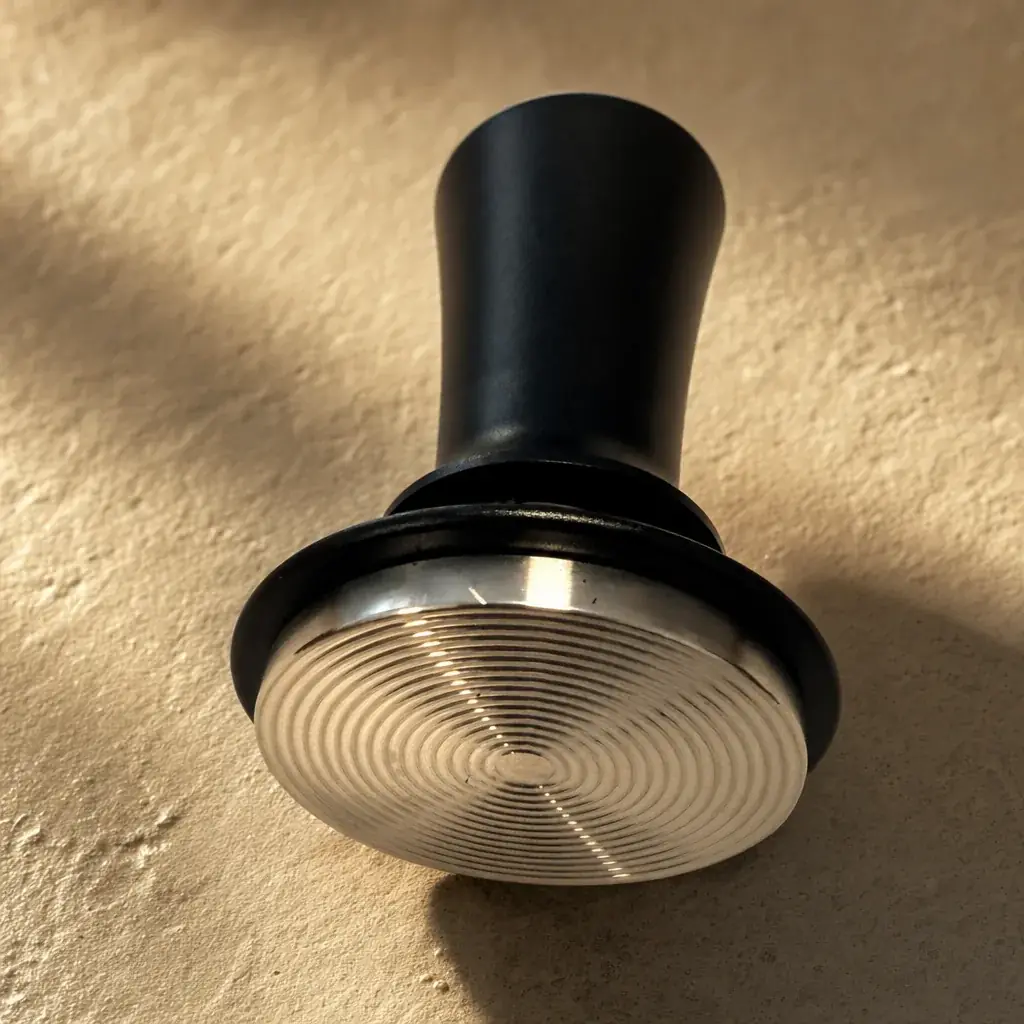
Three places collect it. The machined face itself, and on a grooved base the valleys between the rings, where a cloth passes over the tops without reaching the bottom. The shoulder where the stainless base meets the black collar, a ledge nobody thinks to wipe. And the outer rim, which touches the basket wall on every shot.
Left alone, coffee oil goes rancid. That is the whole case for cleaning a tamper, and it is a slow case rather than an urgent one.
Why a greasy base changes the tamp
A clean stainless face releases from a damp bed. A tacky one holds on a fraction of a second longer, and that fraction is where the damage happens: the seal breaks unevenly, and the surface you have just spent a press making comes up with a divot in it.
If that sounds familiar, it is the same suction problem that concentric grooves exist to interrupt, set out in full in ripple base vs flat base. A film of oil sitting in those valleys works quietly against them. The grooves are still there; they are simply no longer open.
An uneven bed surface is not a cosmetic complaint: it is the starting condition for channelling, the fault behind most pale, fast, sour shots. The tamping sequence assumes a base that lifts away cleanly, and a greasy one does not.
The second effect is on taste, and it is far harder to trace. Rancid oil taints a shot faintly rather than obviously. Nobody tastes it and thinks of the tamper: they change beans, then blame the grinder, then descale the machine. A wipe would have been quicker.
The daily wipe
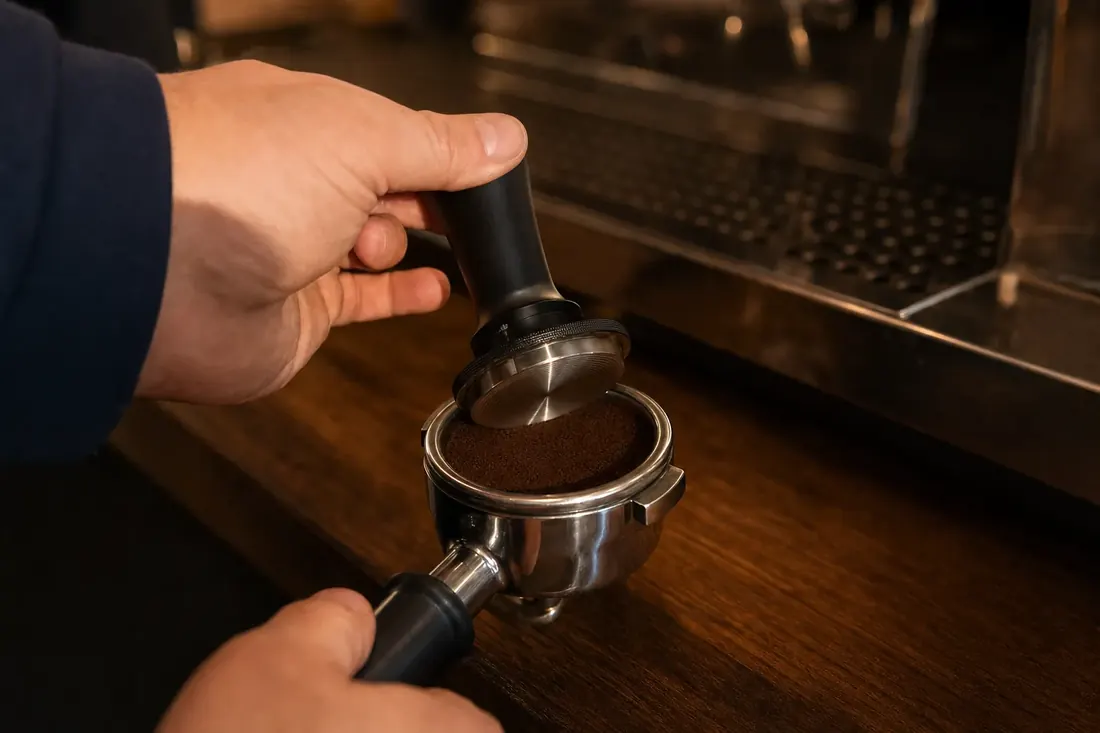
Knock the puck out, wipe the base, put the tamper down. In that order, and while the residue is still loose — a face wiped ten minutes later takes noticeably more work for the same result.
Use a dry cloth. Microfibre works, so does a bar towel kept for the purpose, and the only real rule is that it must not be the cloth you use on the steam wand. Milk residue is the last thing to introduce to a tool that never meets anything wet.
Wipe across the face first, then run a corner of the cloth around the shoulder where the base meets the collar. That ledge is the part everyone misses, and it is where tackiness shows up first.
That is the entire daily routine, and it takes about five seconds. When it fails, the reason is never effort — it is distance. A tamper kept in a drawer across the kitchen does not get wiped; one that lives beside the machine does. If the habit will not stick, move the tamper rather than yourself.
The deeper clean, when a cloth is not enough
Sooner or later the cloth stops being enough, and on a grooved base it happens sooner. Hold the face up to a light: a clean base throws back an even set of rings, while a base carrying oil looks patchy, the sheen broken up between the grooves.
The fix is warm water and a soft brush; an old toothbrush is the classic tool. Work the bristles across the rings rather than along them, because that is the direction that reaches the bottom of each groove. Brushing along them polishes the tops and leaves the valleys as they were.
Two details matter more than the scrubbing. Hold the tamper base-down under the tap so water runs off the face and away from the collar, and keep the run short. Then dry it straight away and stand it until it is dry to the touch. Water left to evaporate on machined steel dries in spots — harmless, but irritating enough that people reach for something stronger.
Nothing stronger is needed, and the next section is a list of what everything stronger costs.
What never touches it
Three things shorten a tamper's life, and all three are avoidable in about five seconds a day.
The dishwasher is the first. Detergent dulls the anodized finish on the handle, and a spring sealed inside a collar has no business going through a heated cycle. This is not a fragility particular to one model — it is true of every spring-loaded tamper in the category.
Soaking is the second, for that reason plus one of its own. A seal untroubled by a brief rinse is being asked something else entirely when the whole tool sits in a bowl of water. There is no reason to submerge something that only ever meets dry grounds.
Abrasives are the third, and the only one that leaves permanent marks. The face is machined for a reason: it has to release cleanly from a damp bed. A scouring pad or a scrub with powder puts scratches exactly where that matters, and no amount of later care takes them out.
| What | Verdict | Why |
|---|---|---|
| Dry cloth after each shot | Every time | Lifts oil while it is still loose |
| Warm water and a soft brush | Once oils have built up | Reaches the bottom of the grooves |
| A soak in the sink | No | The collar is sealed; nothing in there needs submerging |
| The dishwasher | No | Detergent dulls the anodized handle |
| Scouring pad, powder, steel wool | No | Scratches the machined face permanently |
| Group-head cleaner or descaler | No | Made for parts that sit under hot water all day |
That last row catches people out because the bottle is already on the shelf. Those cleaners were bought for parts that sit under hot water for hours. Nothing on a tamper asks for that kind of chemistry.
Two materials, two rules
A tamper is not made of one thing, and the two halves want different treatment.
The base is 304 stainless steel. It is the part that does the work, the part that collects the oil, and the part that tolerates warm water without complaint. When this article says clean, it almost always means the base.
The handle is anodized aluminum. Anodizing is a surface finish rather than a coating that can be reapplied, which is why detergent is the thing to keep away from it: a dulled handle stays dull. Brief contact with water does nothing, but there is no reason to get it wet, and the band between the two — the collar carrying the graduations from 6 to 14 — is the join to keep driest of all.
Wood is the third case, and it turns up in more espresso setups than people expect. The pack sold here pairs the tamper with a bottomless portafilter whose handle is rosewood, beech or chacate preto, and wood follows a rule of its own: wipe it, dry it, and never let it sit in water or go near a dishwasher. Wood takes water on unevenly and gives it back unevenly, and that is what opens a crack in one. The black handle in that range is moulded rather than wood, so it follows the tamper's own rule — a cloth, and nothing else.
The collar, the spring, and what not to open
The maintenance people expect to find on a calibrated tamper does not exist, and that is worth saying plainly.
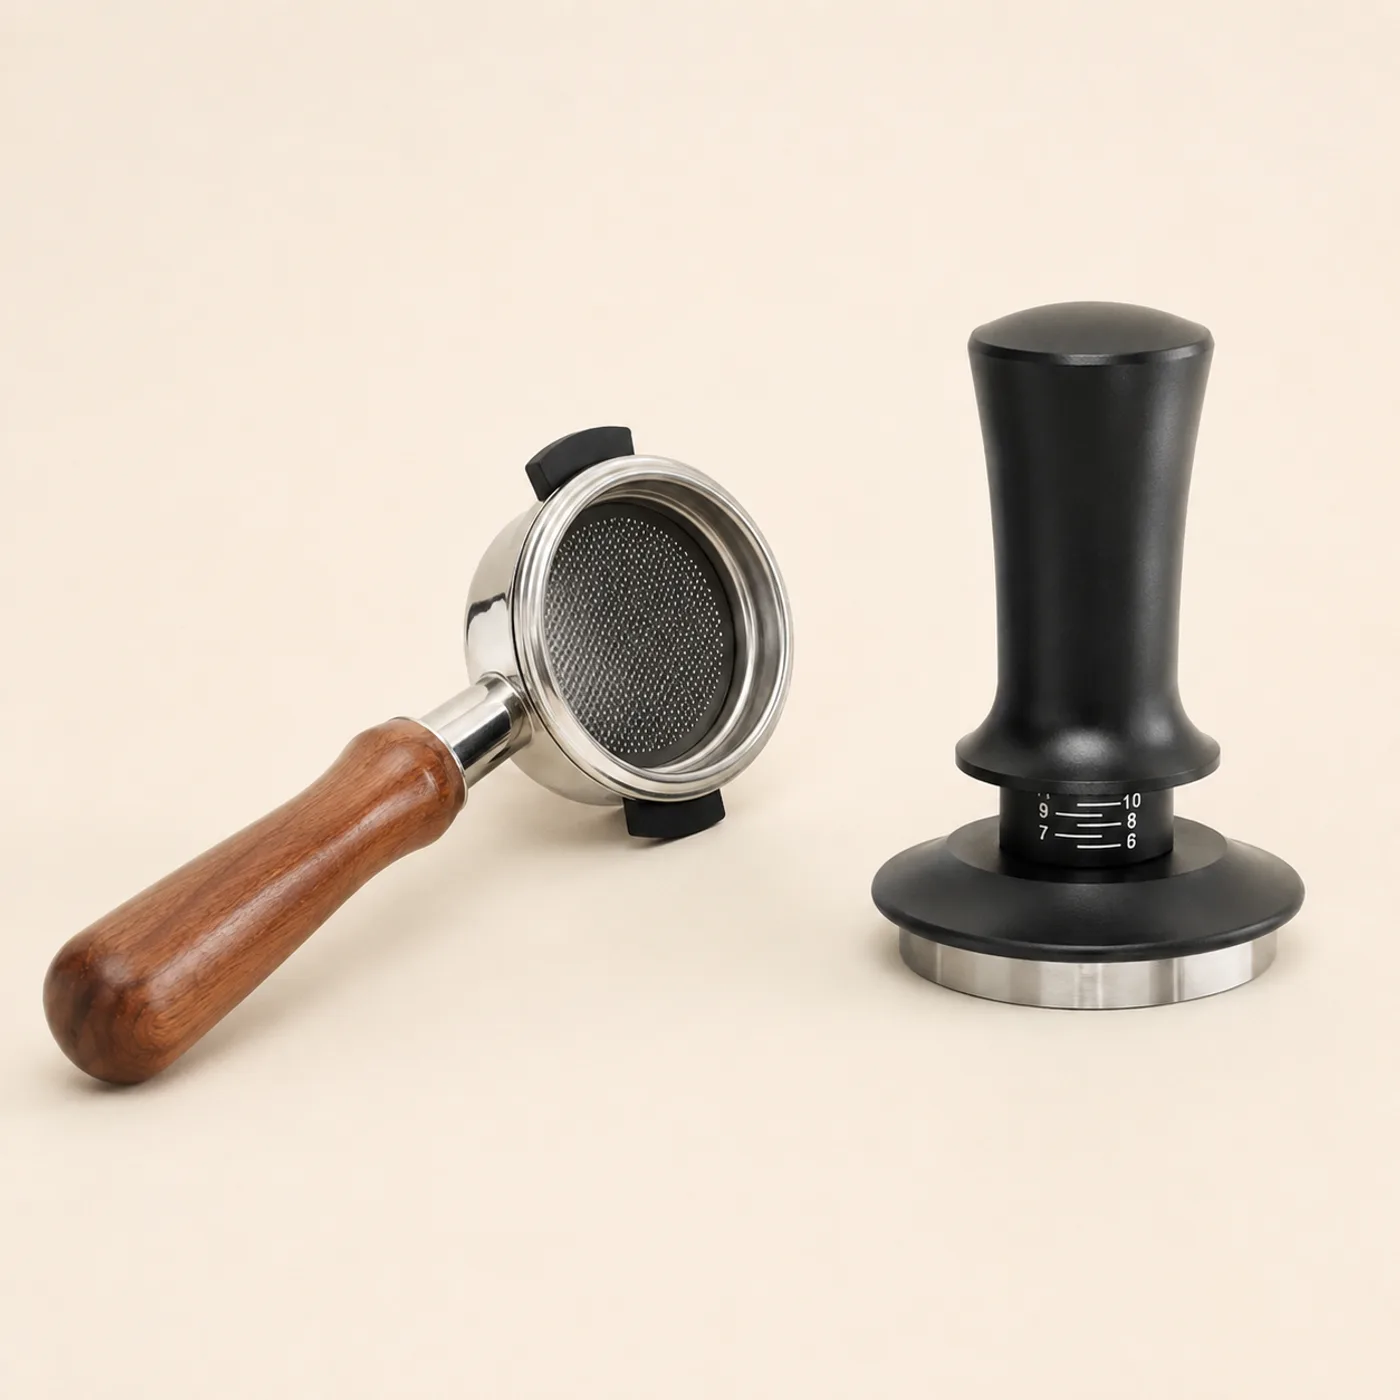
The collar is a threaded depth adjustment marked 6 to 14. It is designed to be turned, so turning it costs nothing and there is no wear to ration. If grounds work their way under it, hold a dry cloth against the collar and turn it through its range: that clears them without a drop of water.
The spring behind it is fixed at 15 lb and is not swappable, a design decision covered on the calibrated tamper page. Its consequence for cleaning is a happy one: there is nothing inside to service. No lubricant to top up, no part to replace, no schedule to keep. The mechanism is sealed, which is why keeping water out of it is the only thing ever asked of you.
So do not take it apart. A tamper opened up to be cleaned is being cleaned for a problem it does not have, and a seal is easier to break than to restore. Everything this tool needs is done from the outside, with a cloth.
Where to keep it between shots
Storage is half of cleaning, because it decides how much cleaning there is to do.
Do not leave the tamper resting in the portafilter. It is the tidiest-looking option and the worst one: damp grounds held against the face for hours are exactly what lets oil set, and the basket stays damp underneath. Knock the puck out, wipe both, separate them.
Do not drop it loose into a drawer with other steel either. The face is the working surface, and a nick in the edge or a scratch across the rings is not something you can undo. If a drawer is the only option, give it a corner of its own.
The best place is the counter, next to the machine, base down on something dry — a tamping mat, a folded towel, a coaster. Not because the base needs protecting, but because a tamper you can reach without opening anything is a tamper that actually gets wiped. Every habit here survives or dies on that detail.
Where to go next
If you take one thing from this, take the dry cloth after each shot. Everything else here is a correction for having skipped it. A base wiped every morning never needs a brush, never needs a tap, and never gets near the point where somebody reaches for a dishwasher.
The tamper we make uses a 304 stainless ripple base and an anodized handle in all three sizes, which is the combination described throughout this article. If you are still settling on one, the size guide covers the only specification that can make a tamper unusable, and the reviews page covers what buyers report after living with theirs.
Related reading: how to tamp espresso · how much pressure you need · what a coffee tamper is · ripple base vs flat base · tamper vs distribution tool · coffee tamper substitutes · choosing the best coffee tamper · tamping and wrist pain
On the product: the calibrated coffee tamper · how the spring works · espresso tampers explained · what buyers report